

Pac-Man Earrings
Resource Procurement Costs
- Earring studs: $1
- Plastic pearls: $1
- Yellow Sun spray paint: $6
Procurement Costs avoided due to Resourcefulness
- Scissors: $1
- Contact Cement: $4 (I'm guessing)
- 2 plastic buttons with 4 holes in the center: $1 (I'm guessing, since it's impossible to find a pair of buttons anywhere)
- Bastard File: $8 (You could probably find a cheaper file for $4)
Estimated Time Required
- Step 1: 10 minutes
- Step 2: 20 minutes
- Step 3: 180 minutes (your mileage will vary greatly here, anywhere between 0 and 360 minutes, depending on button colour and paint used)
- Step 4: 60 minutes
- Step 5: 15 minutes
- Step 6: 15 minutes
- Total: 5 hours
- Again, your mileage may vary greatly. It took me longer to do this, factoring in design and procurement of required resources. Painting (step 3) actually took a few days, since my paint dried slowly. But it didn't require constant attention.
Process
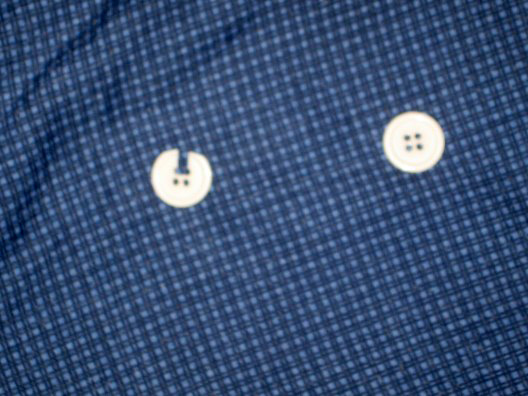
Step 1
Using your inappropriately named bastard file, begin filing the buttons in a straight line such that you intersect the first two of the button-holes at a 90 degree angle. Be sure not to file too deep, you need those other two holes later.
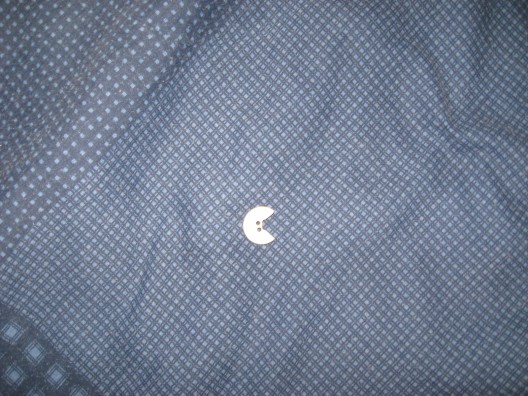
Step 2
Begin filing the inside edges at an angle, starting at the circumference, until you have a good angle for the mouth. You may want to draw the desired angle on the button with a marker before you begin filing. I decided to play it by ear and eyeball it. Make sure to file your buttons evenly, so that they match!
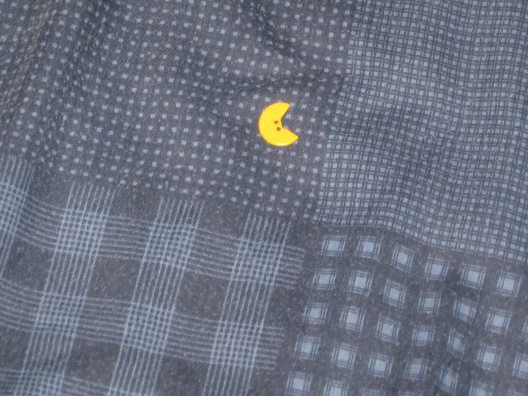
Step 3
If your buttons aren't that vivid yellow colour by default, paint them. I applied several coats to my buttons as needed. Note that darker-coloured plastic will require more coats than lighter-coloured buttons.
Step 4
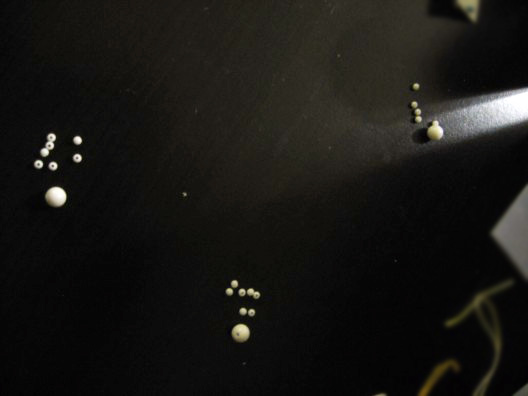
Using two pieces of thread and some beads, thread and space out your dots. The beaded necklace that I used consisted of both itty-bitty and appropriately-sized dots:
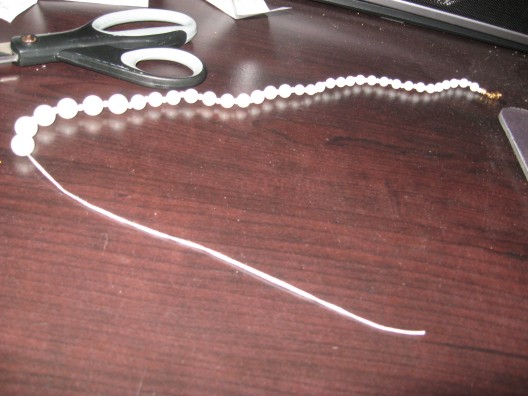
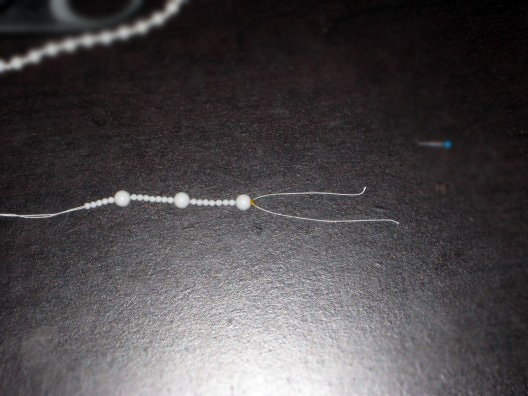
How you want to space out the dots is your call, but I used the little tiny beads as separators to make each of the dots an equal amount of "pixels" apart, in the pattern of 5-DOT-7-DOT-7-DOT:
The reason I used 5 dots for the first space is due to the fact that as Pac-Man moves, his mouth flaps open and shut. Since his mouth is open, he has traveled a partial distance from one dot (not shown in necklace) to the next. This level of detail is neither required nor expected.
Step 5
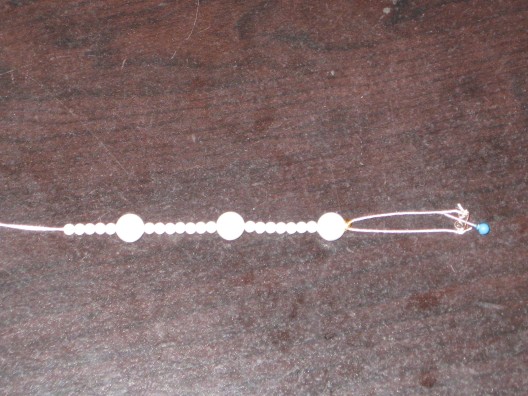
Once all of your Dots are threaded, apply some contact cement to the farthest (last-threaded) Dot so that it doesn't slide around once everything's been assembled. Leave yourself an inch or two of thread so that you can tie the thread to the ear stud:
Tie each of the threads to the ear stud. How your ear stud is designed may vary. When choosing which ear-studs to use, I went with a double-looped design, that just happened to work perfectly with the double-threading method. If there is a single, or even no looping present, you'll have to tie a knot to the metal clip piece of the ear stud. The goal is to ensure the center of gravity is, well, centered, so that the earrings do not hang to one side. Once your thread has been securely fastened to the ear stud clip, cut the extra thread off. It's unnecessary and looks ugly. Use some contact cement to secure it in place if needed.
Step 6
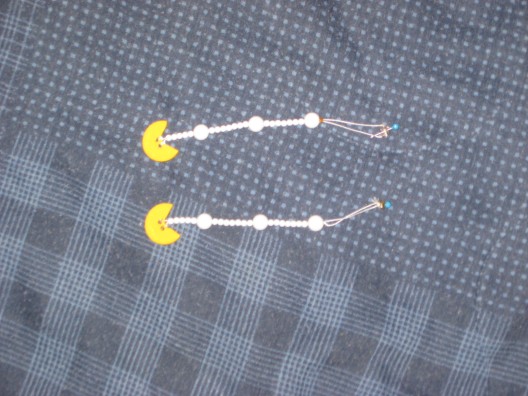
Time to tie your little Pac-Mans to the other end of the earrings. Loop each piece of thread through a button hole such that your center of gravity when holding the earrings upright falls in the center of the Pac-Man. Ideally, you want him to be facing straight up (toward the ear/Dots). If using the micro-dot beaded design that I used, tie the Pac-Man as close to the first dot as possible. Again, cut the leftover thread. If desired, paint the thread connecting from the Pac-Man to the closest dot so there's no white (or whatever colour your thread is) sticking out. I would have done the same, but I don't have a paintbrush.
Voila! If my instructions were any good, you'll end up with something like the following:
Comments can be left here.